
This article outlines how to set up SWOOP for SharePoint using the standard Automatic Miner Permissions method that you selected during the initial setup:
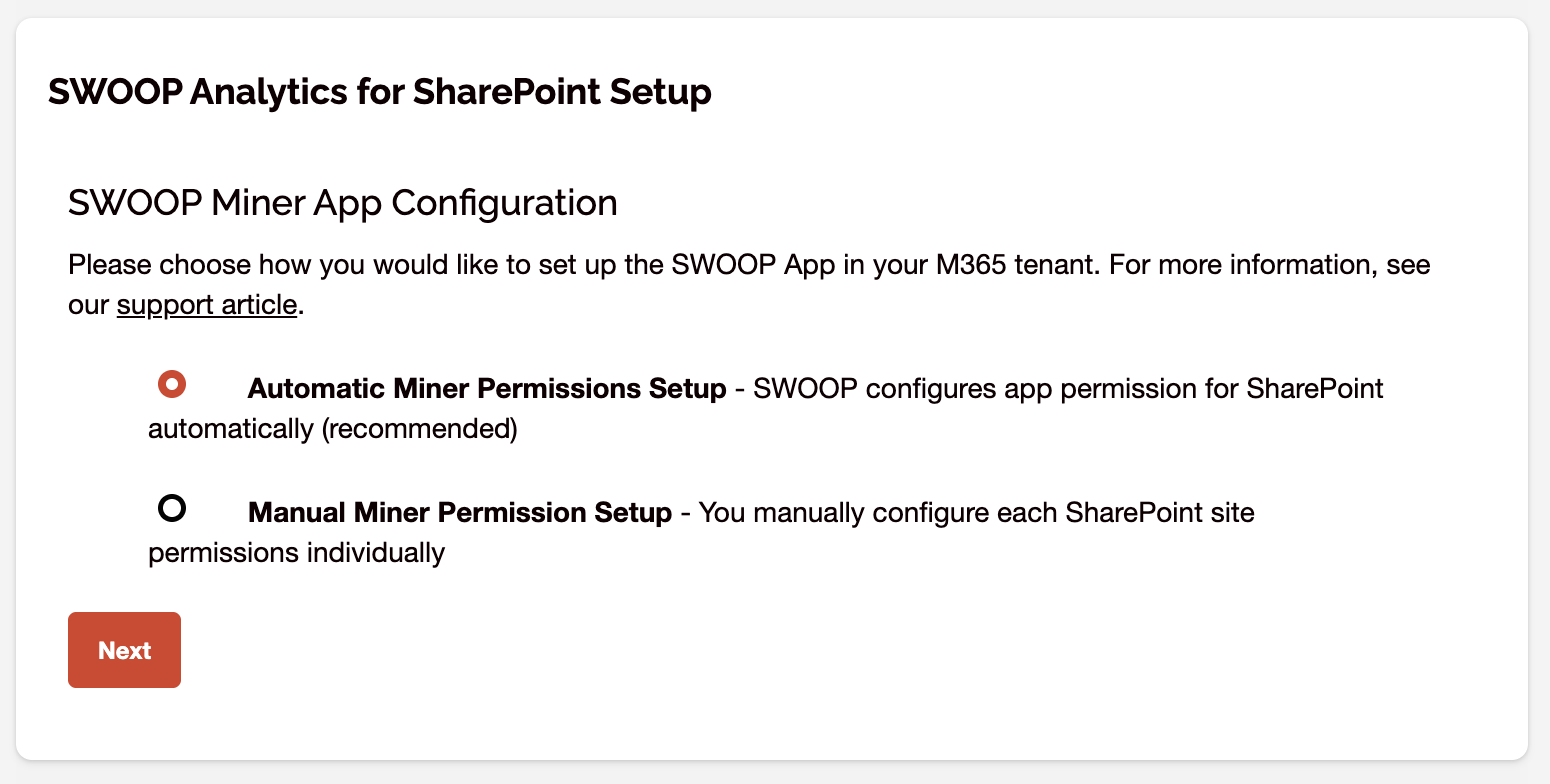
1. Grant permissions to SWOOP Analytics
There are two rounds of granting SWOOP the required permissions. In this first round SWOOP will be given the "User.Read" permission which allows SWOOP to determine who has M365 Admin privileges and this controls the rest of the set process. In the second round, the permissions to read the SharePoints will be requested.
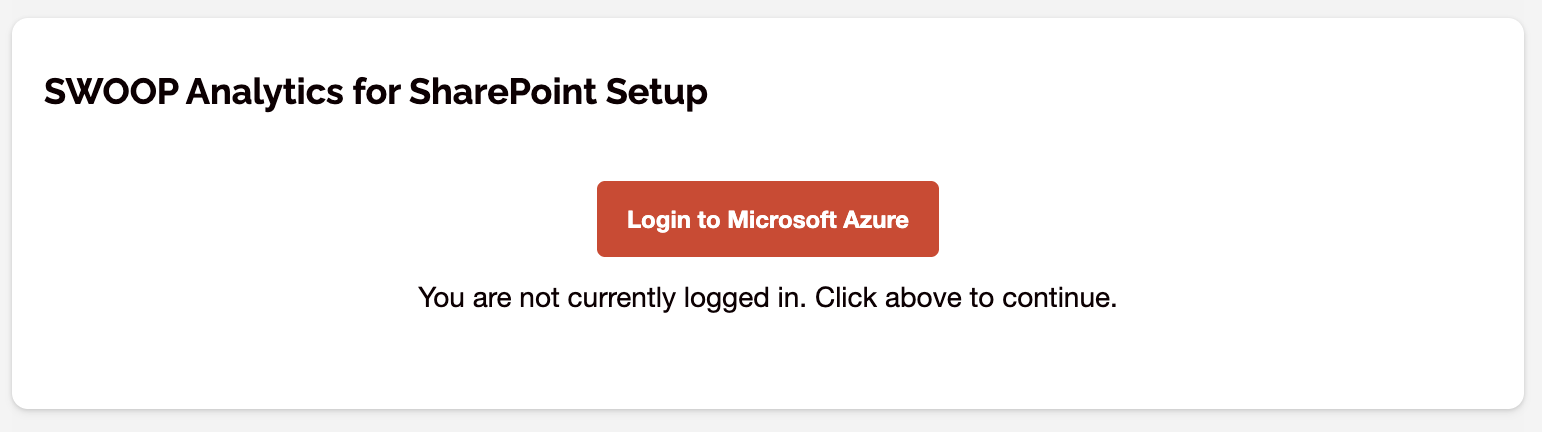
Click "Login to Microsoft Azure" to initiate the steps to grant permissions to SWOOP
Click "Consent on behalf of your organisation" which will grant the SWOOP application the "User.Read" permission. 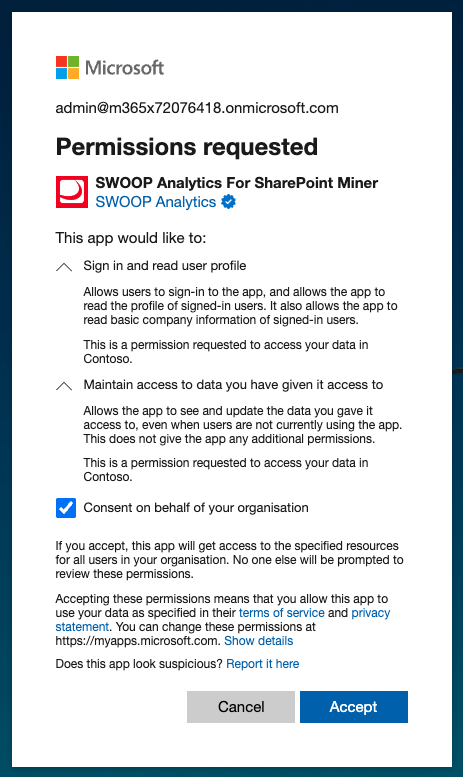
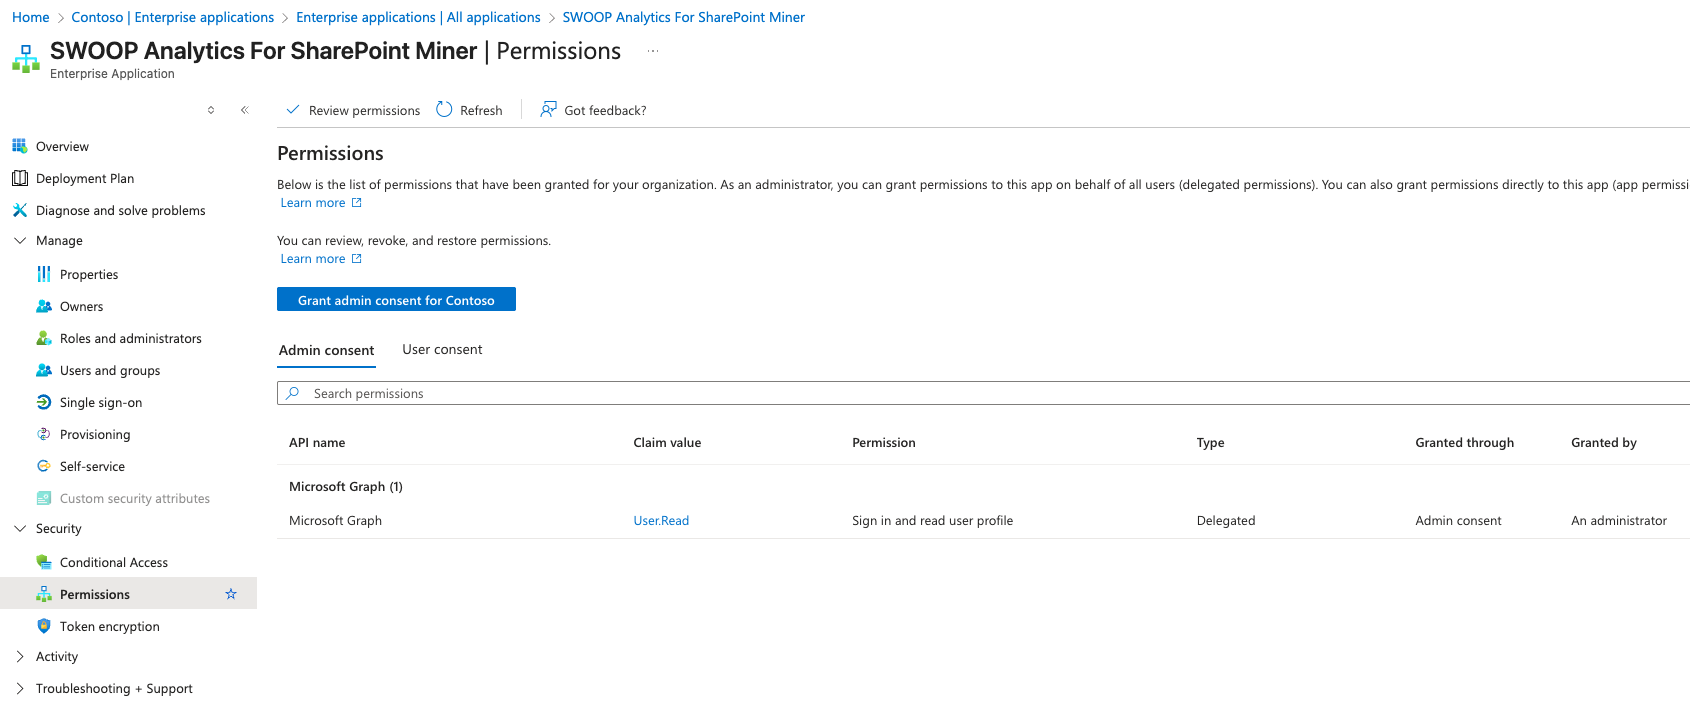
After you have clicked 'Accept' the "SWOOP Analytics For SharePoint Miner" is now appearing in "Enterprise Applications" in Azure and you can see the permissions by clicking on the "Permission" menu item in Azure:
2. Choose the name of your SWOOP site
Here you choose the name of the site from where you want to access SWOOP for SharePoint. For example, you could choose "bigcorp" and the SWOOP site name will become bigcorp.swoopanalytics.com.
Also provide your business name (that is the name of your organisation) as well as the email address for a technical contact. Ensure that this is a monitored email address.
Validate that your Microsoft Tenant ID is correct.
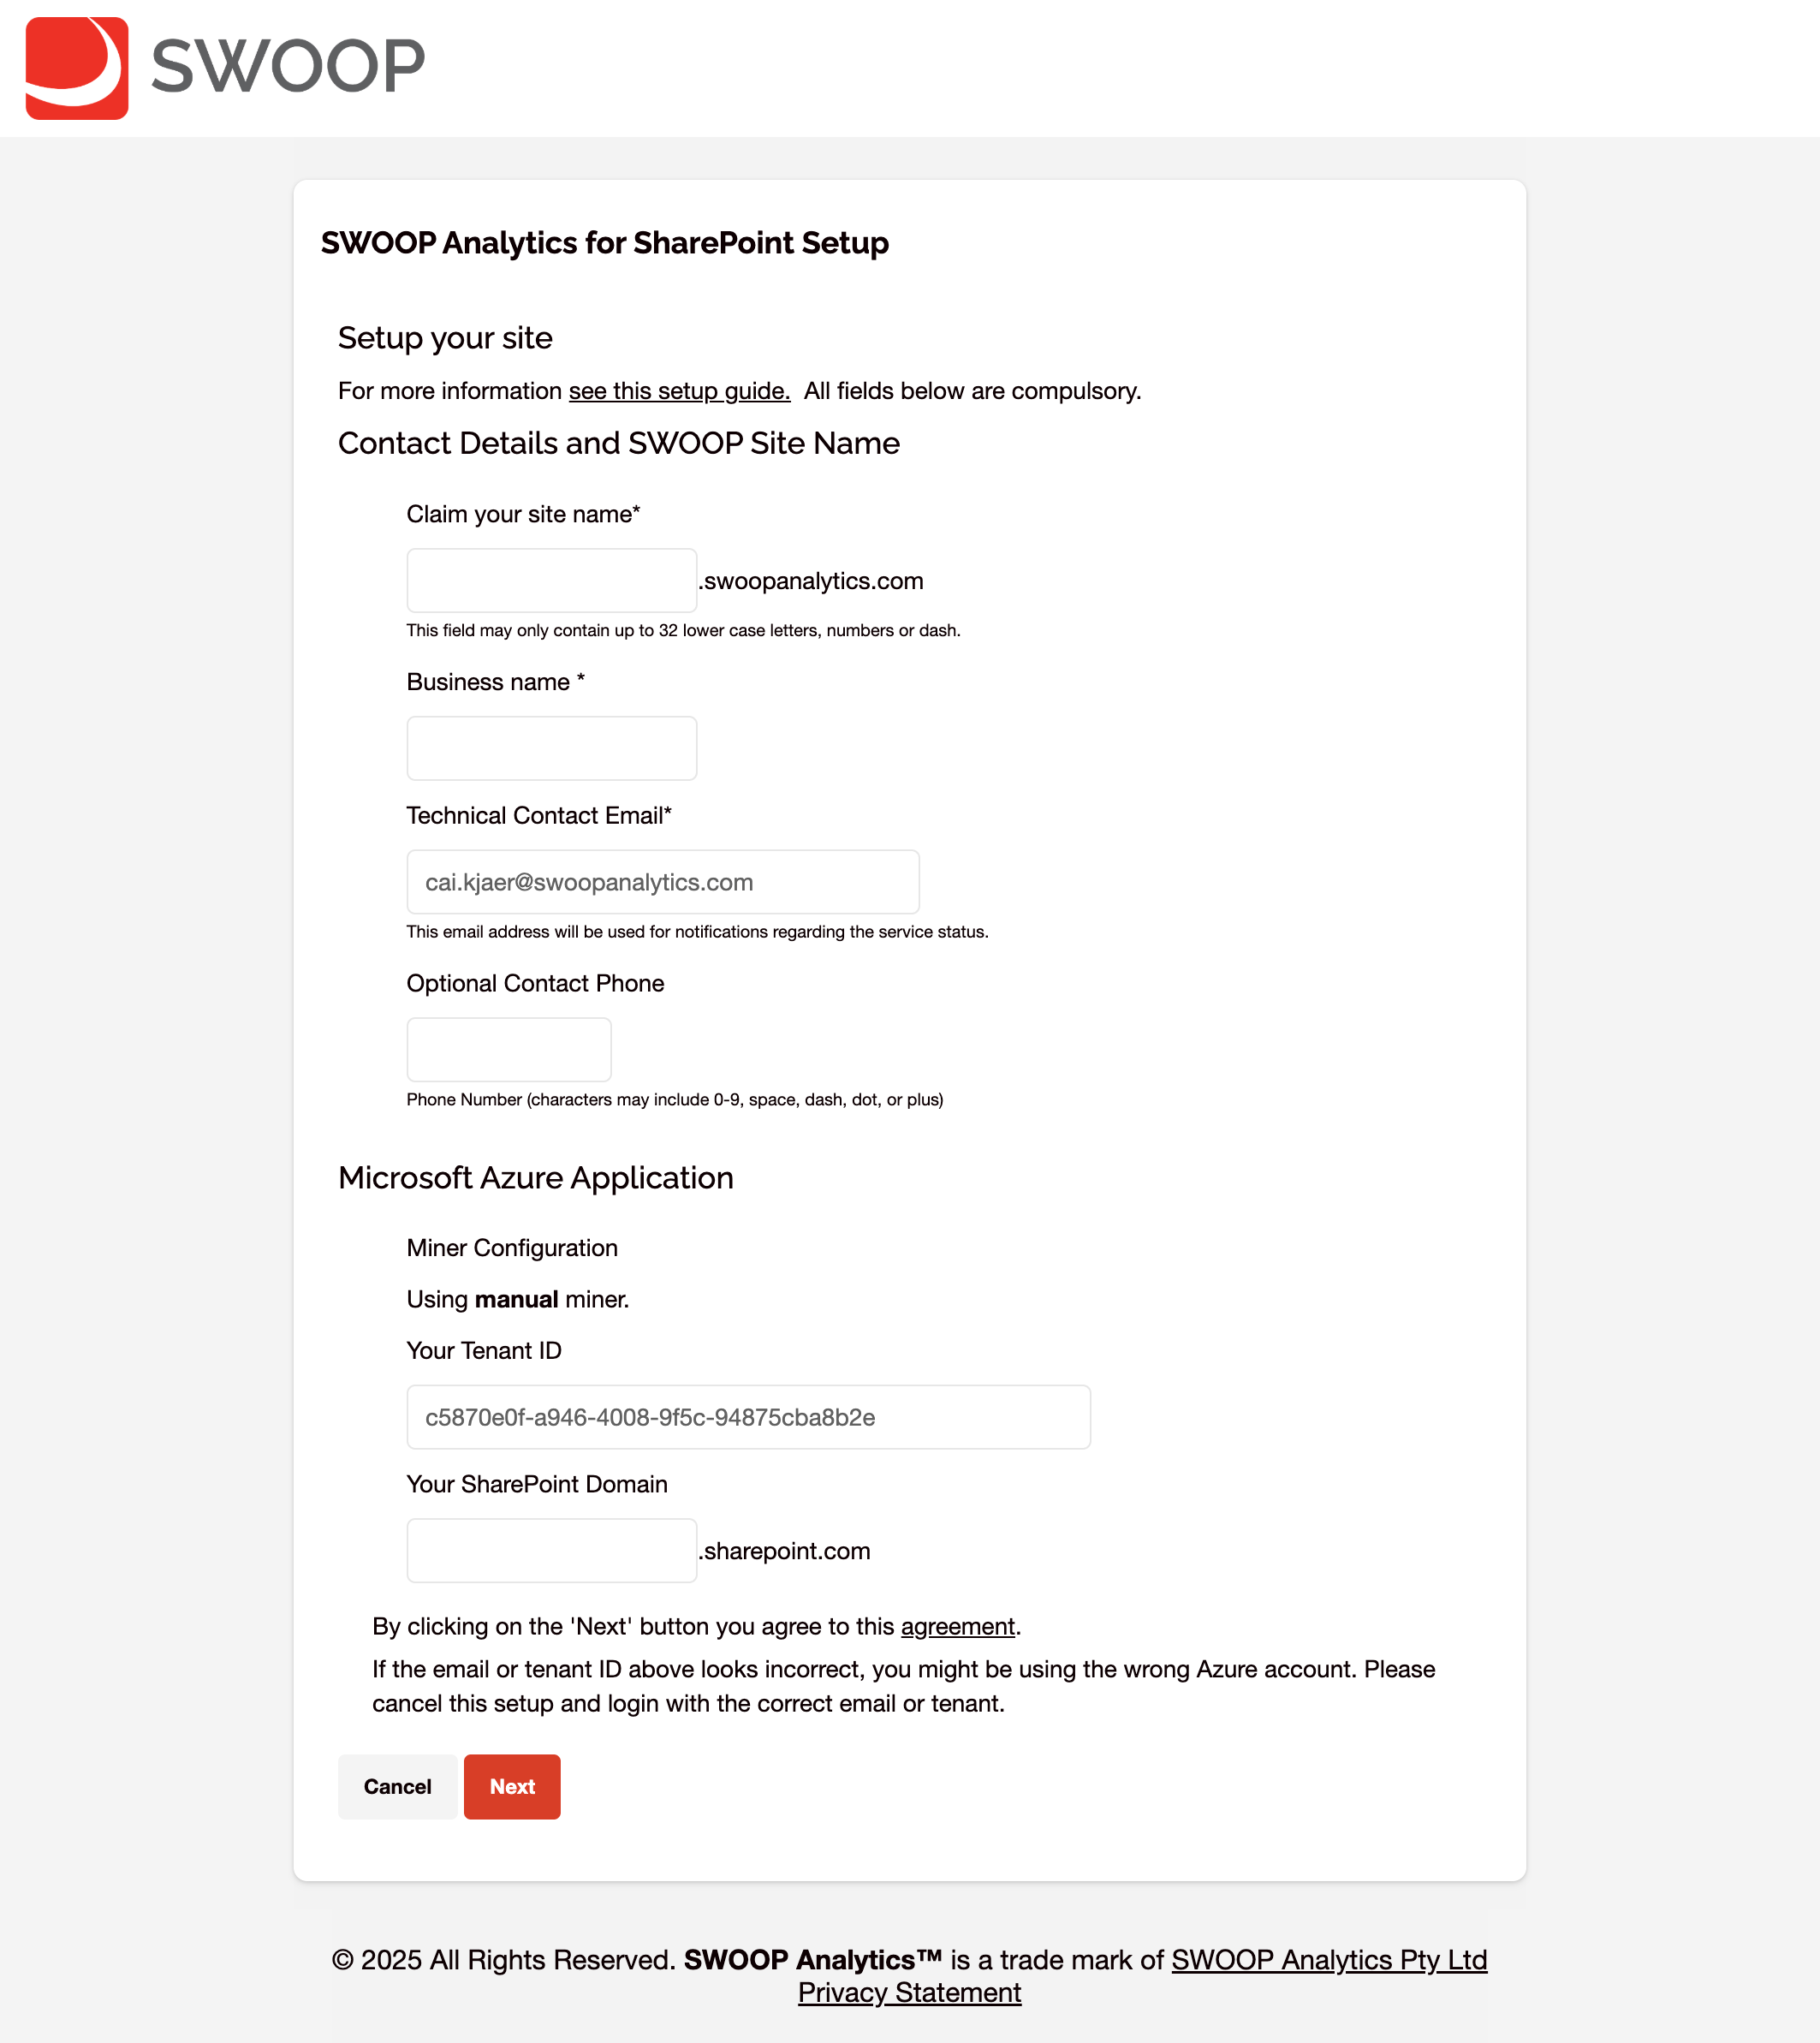
When you click 'Next' a number of background actions will be initiated and you will see a spinning wheel. This process can take up to 5 minutes. Do not refresh the page during this process:
3. Grant permissions to access SharePoint sites
This is where we initiate the second round of requesting permissions. We are requesting permissions to be able to access your SharePoint sites.
Click 'Start Content Process for Data Miner':
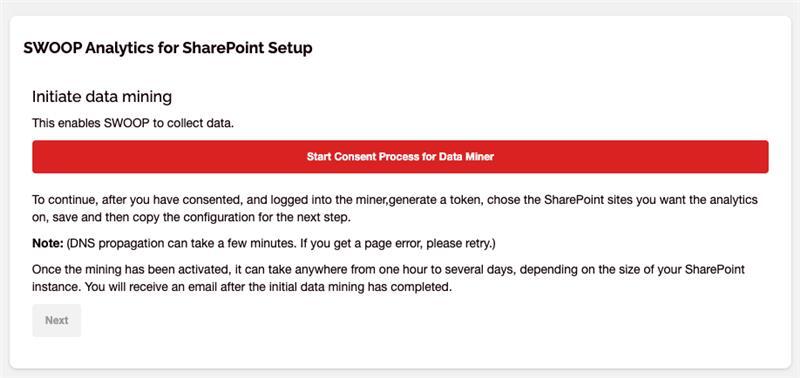
You will see the following permissions are quested:
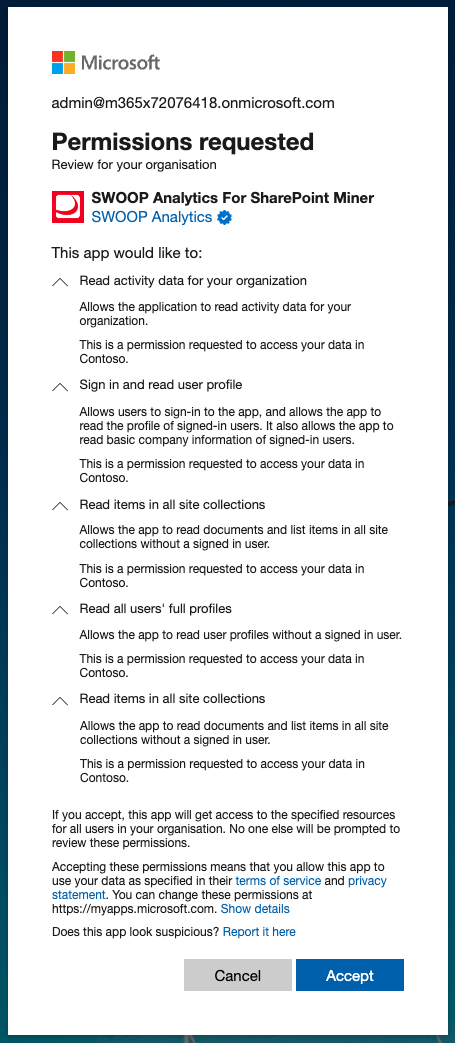
After you click "Accept", you will receive confirmation from SWOOP that the content was succesful

You will also see that the "SWOOP Analytics For SharePoint Miner" in "Enterprise Applications" in Azure has been updated with the following permissions:
Microsoft Graph:
Sites.Read.All
User.Read
User.Read.All
Office 365 Management:
ActivityFeed.Read
SharePoint:
Sites.Read.All
Read more about the permissions SWOOP for SharePoint requires and why [insert link].
4. Select SharePoint sites to be added to SWOOP for SharePoint
Copy and paste the SharePoint site URL for each of the SharePoint sites you would like to add: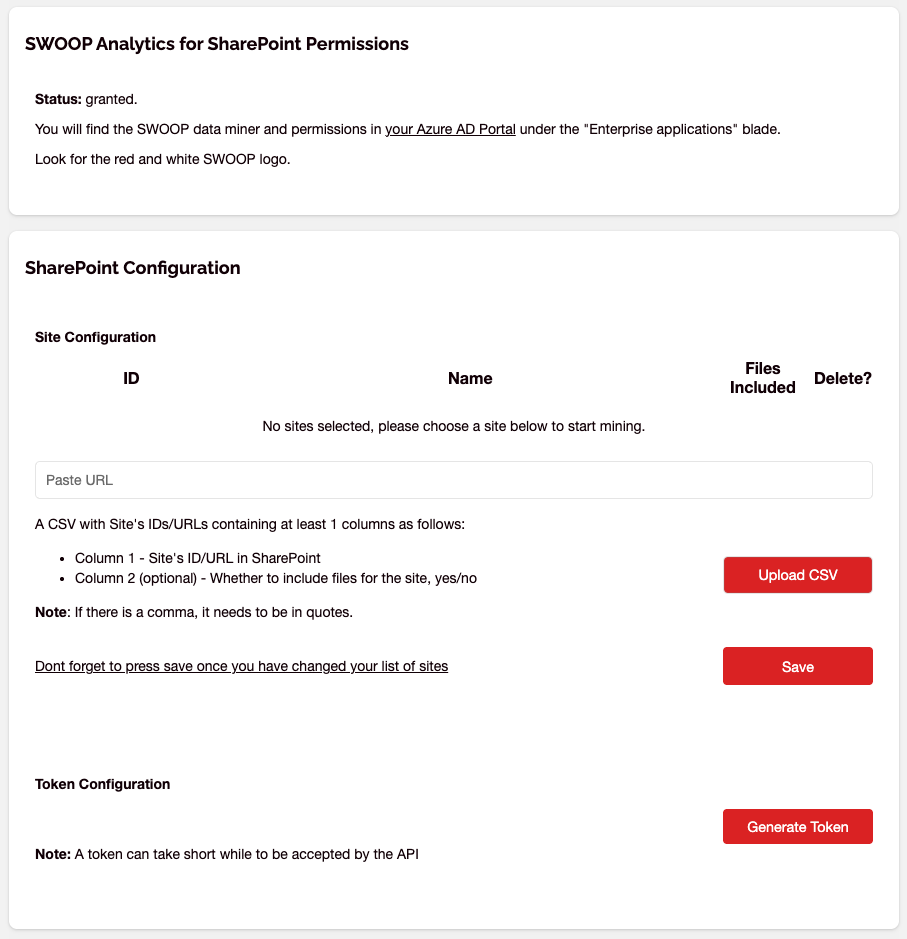
If you have multiple site you can create a CSV file where you add the SharePoint site URLs on a separate lines and then upload this to SWOOP.
You can come back later and add more sites.
5. Generate token (one-off)
Click on the 'Generate Token' button to generate a token that will be used to securely transfer site activity data (for example page views) to SWOOP Analytics.
6. Grant content for end-users to access the SWOOP for SharePoint app
Access the SWOOP sites you created earlier (for example bigcorp.swoopanalytics.com). Since this is the first time you are accessing this site you need to grant permissions for end users to also access.
Once you have granted permissions on behalf of the organisation, other users do not see this box.
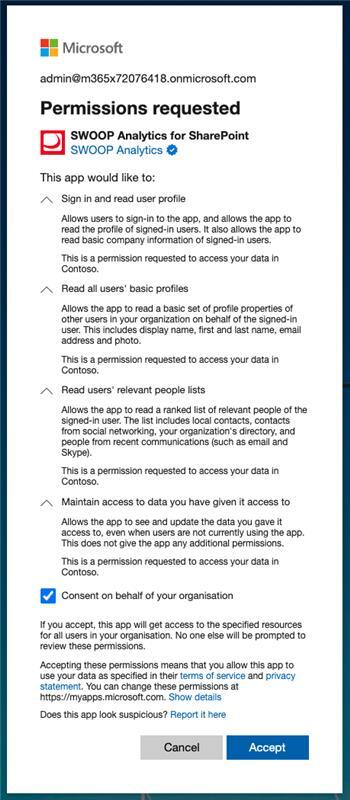
After you click 'Accept' you will see that the SWOOP Analytics For SharePoint" application has been added to Enterprise Application in Azure with the permissions listed in the box above.
7. Add the SWOOP for SharePoint JS Tracker to your SharePoint sites
During this step we will be adding a modern SPFX SharePoint app that will be collecting pageview data from selected SharePoint intranet sites.
For this step you need to access the SharePoint Store, so you need to be a SharePoint Admin.
Go to the Microsoft Admin Center, and from there access the SharePoint Admin Center. In the SharePoint Admin Center click More Features / Apps / SharePoint Store
In the SharePoint Store, search for "SWOOP" to find the SWOOP Analytics For SharePoint JS Tracker. Click to open.
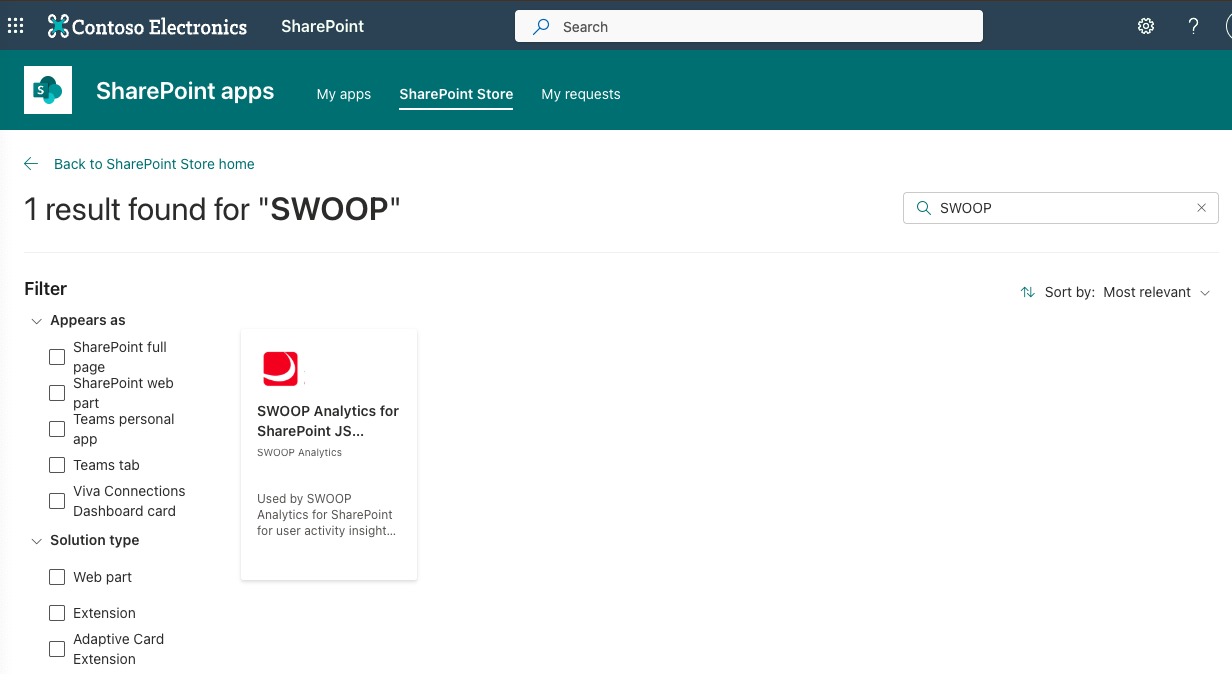
Click 'Add to Apps site':
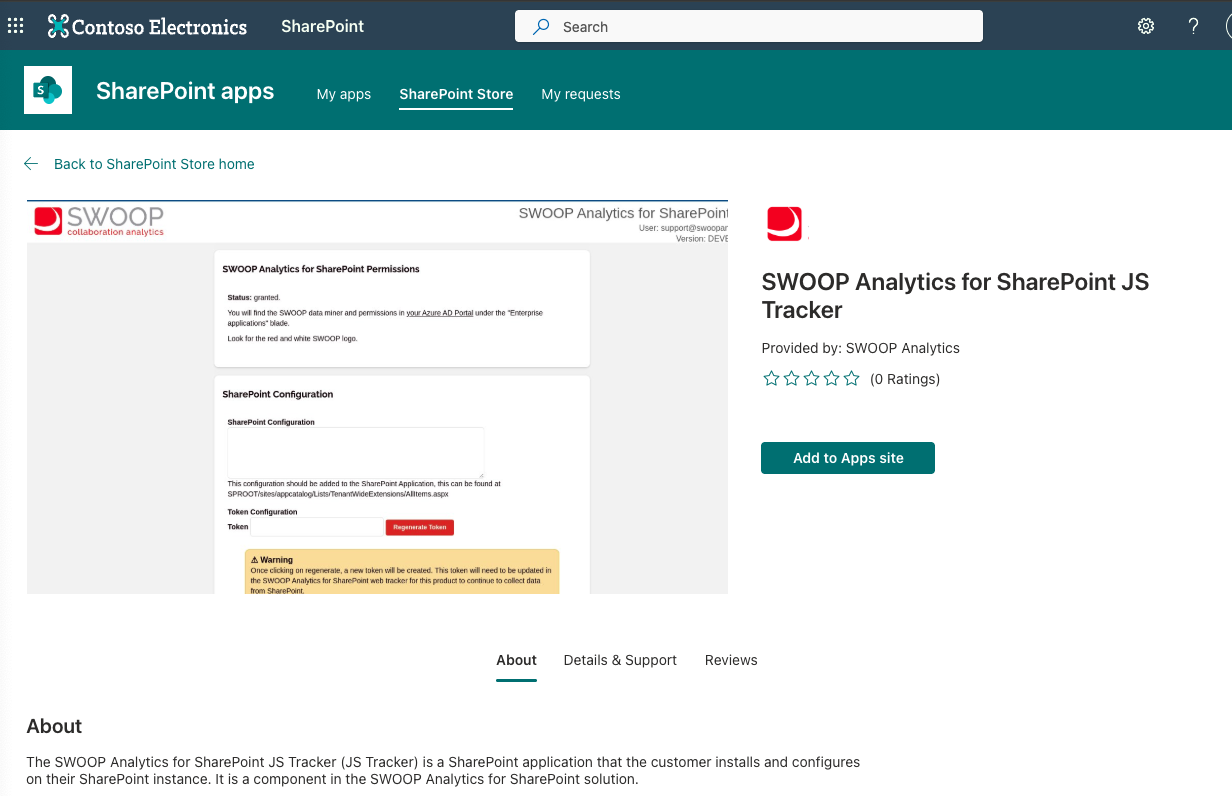
You will now be asked to "Confirm data access":
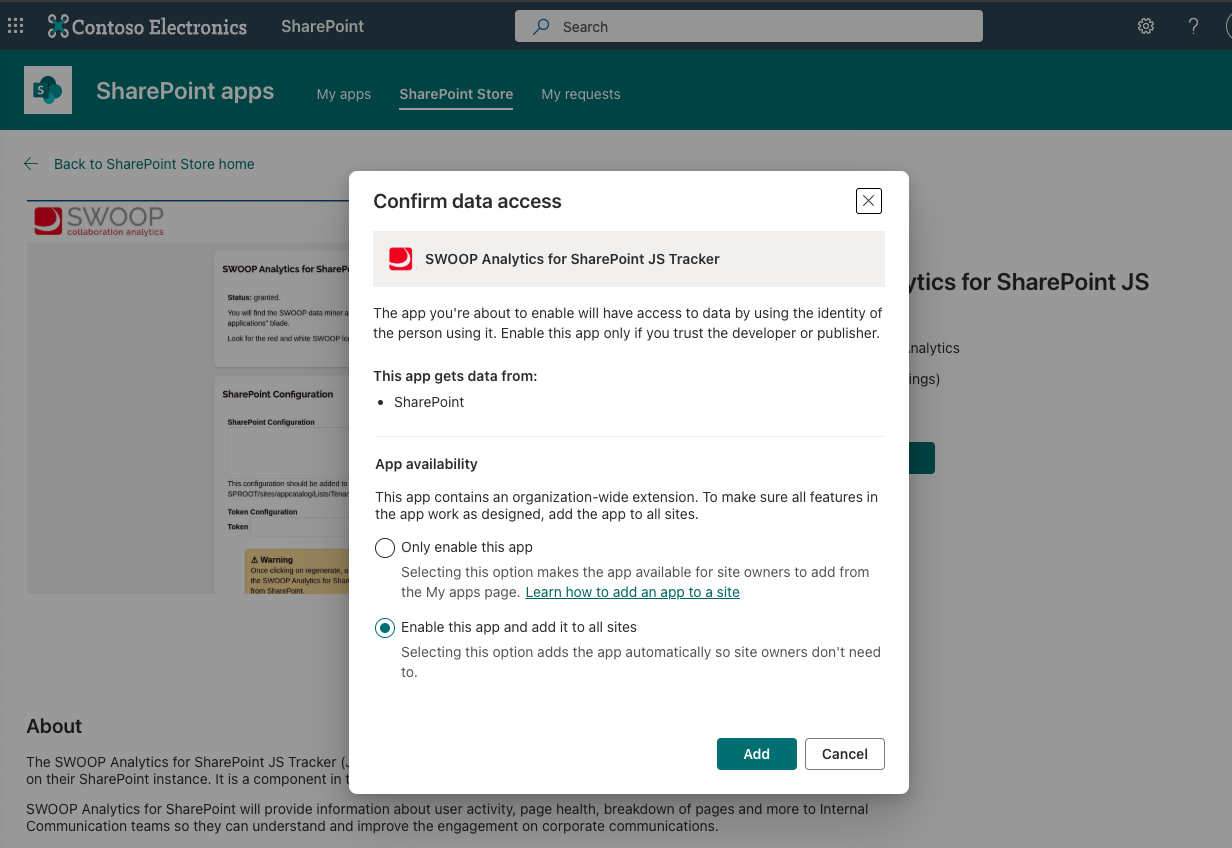
There are two options:
- Only enable this app - This will make the app available for all SharePoint sites. However, a SharePoint admin will need to manually enable the extension on each site before continuing to the next step.
- Enable this app and add it to all sites (recommended) - This will make the JS Tracker work on all sites, and is the simplest. Note that ONLY sites you add via the JS Tracker app in SharePoint (see below) will be tracked by SWOOP Analytics.
IMPORTANT - Add SWOOP to the Trusted Script Sources
Microsoft implement Content Security Policies (CSP) for SharePoint. This prevents scripts from running unless they are trusted.
Once you have added the app, you need to go to the Trusted Script Sources found in SharePoint Online Admin Center > Advanced > Script sources.
Click on add a source and paste in the SWOOP domain:
Click on add.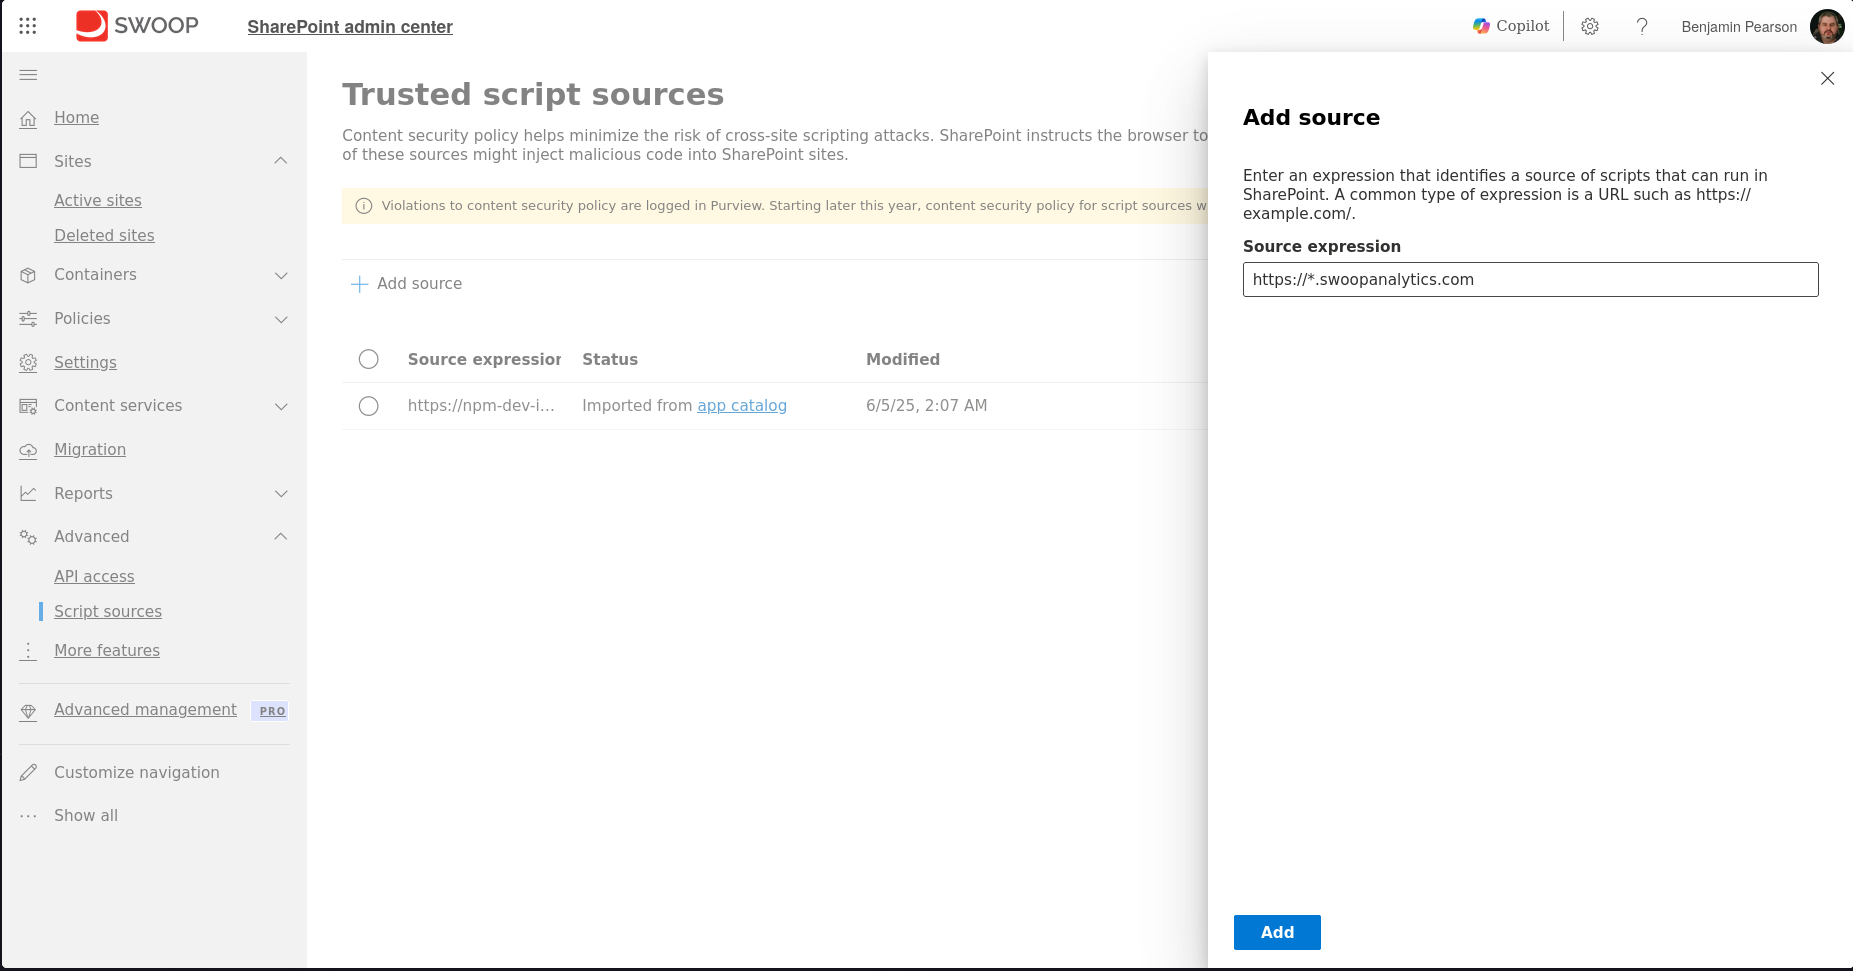
Switch back to the SWOOP Data Miner for the next step.
8. Update the JS Tracker App in SharePoint
In this step, we will be taking the JSON configuration data from the SWOOP data miner, and we will add that to the JS Tracker app in SharePoint, so it knows which sites to track.
Copy the SharePoint Configuration JSON text from the SWOOP data miner:
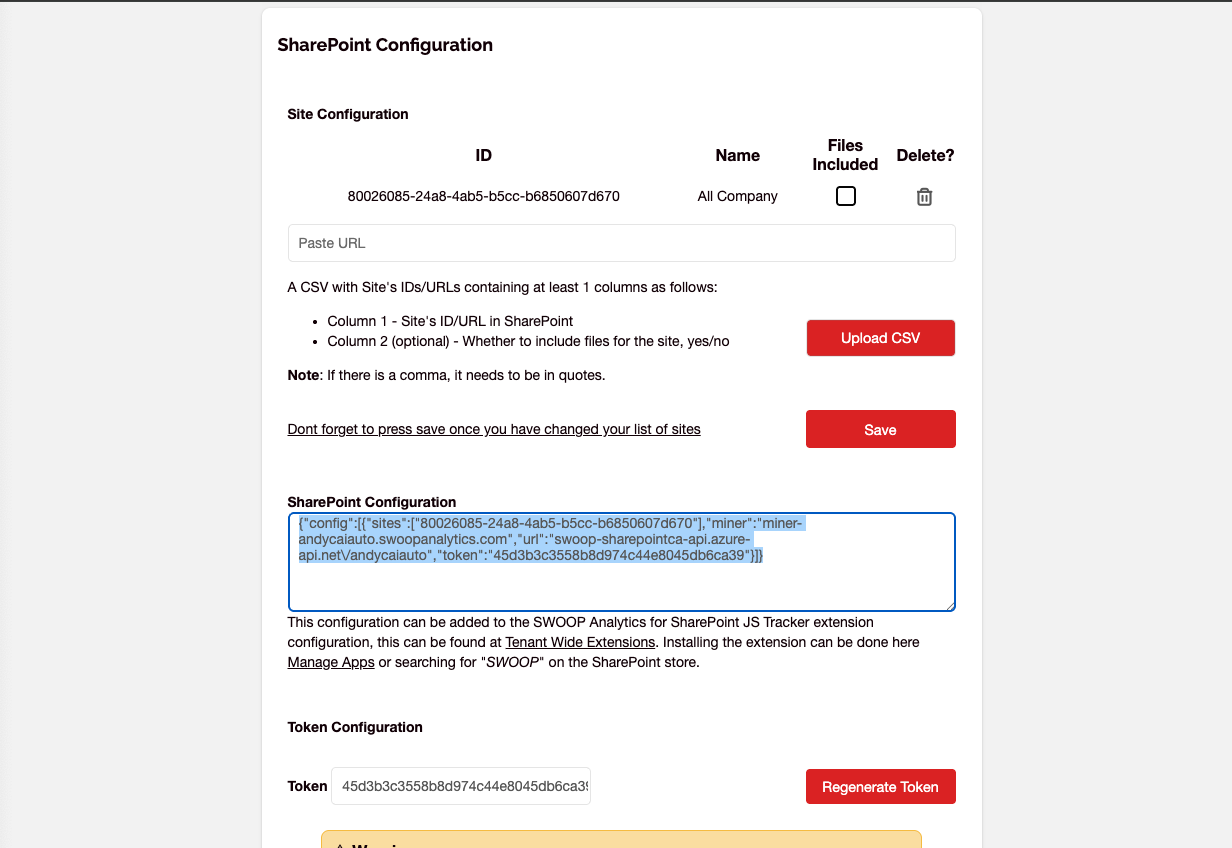
Go to the SharePoint Admin Center. Click More Features / Apps / More Features / Tenant wide extensions and click 'Open'.
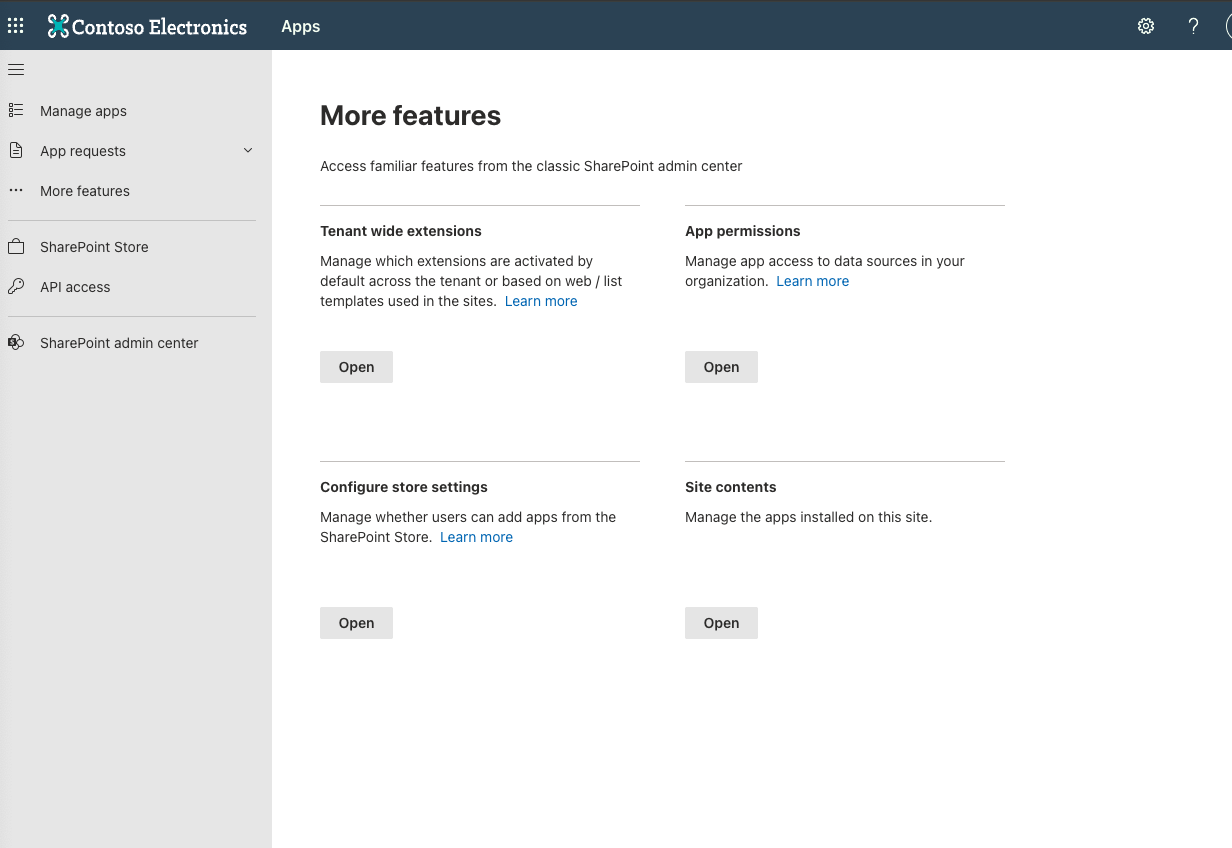
Click 'Edit this list' to edit, and edit the 'Component properties' field. Paste the JSON text in this field:
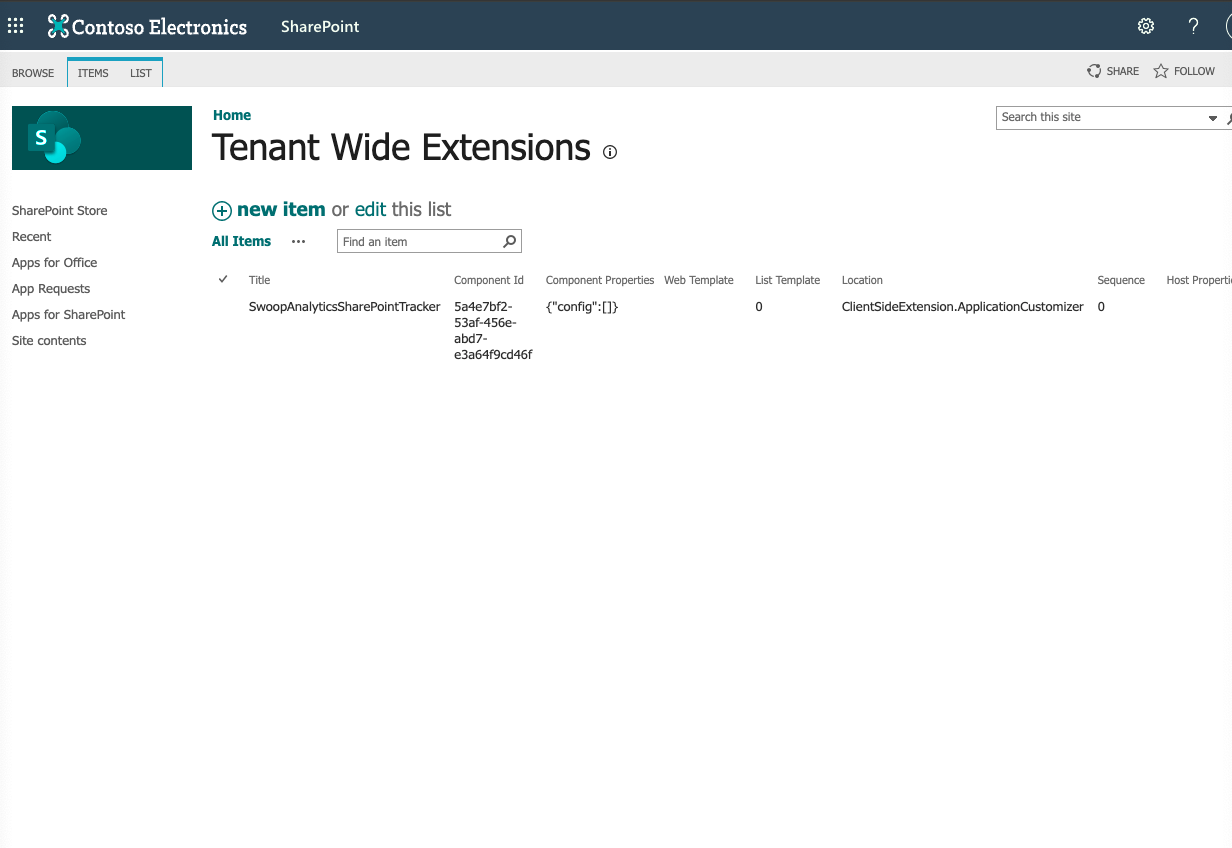
Click 'Stop editing this list' to save your changes.
Note: SWOOP will ONLY track sites that are included during this step. Even if you installed the JS Tracker on all sites, no data will be transferred unless they are included in the JSON configuration
If you add more sites to the SWOOP for SharePoint data miner, then you also need to update the JSON configuration in the JS Tracker extension. In other words, you will need to repeat this step 8 every time you add more SharePoint intranet sites.