
People attribute data (for example department, location, etc.), can be used to filter the reports and insights from SWOOP. Learn more about filters.
By default, SWOOP will fetch the 'department' field from a person's M365 user profile. It is possible to extend this to also include the 'location' and 'job title' attributes by enabling these in the SWOOP data miner (admin access only).
If you're wanting to add additional attributes, these can be provided to SWOOP by an administrator in different ways:
- Manual upload of file that contains the User ID and the relevant segment for that user
- Automated upload via Azure Active Directory
- Automated upload on a periodic basis via other means (custom setup)
Note: Uploading of people attribute data into SWOOP does not change anything in M365.
Manual upload
To manually upload additional user profile data, including Segment data, the SWOOP Admin performs the following steps:
- Source a complete list of users that has the correct attribute data. Consider including other profile fields that you may find relevant such as City, Region, Country, etc.
- Ensure you have each person's email address included on your list as that is used as the unique identifier for a person.
- In SWOOP for Viva Engage you can use the person's Viva Engage ID instead of email address, and in other SWOOP products you can use the person's Microsoft object ID instead of the email address.
- Take note about the rules of what can be contained in the CSV file - Character Restrictions in Values, Attributes and Files
- Go to the SWOOP miner: You access the miner by clicking on 'Admin Settings' in the bottom left of SWOOP, then click on the 'Miner' tab, then click on the URL for the data miner.
- In the SWOOP miner, find the 'Attributes File' section and click 'Choose File' and select the *.csv file you have created that contains a list of the users and attributes.
Then click 'Process File + Save':
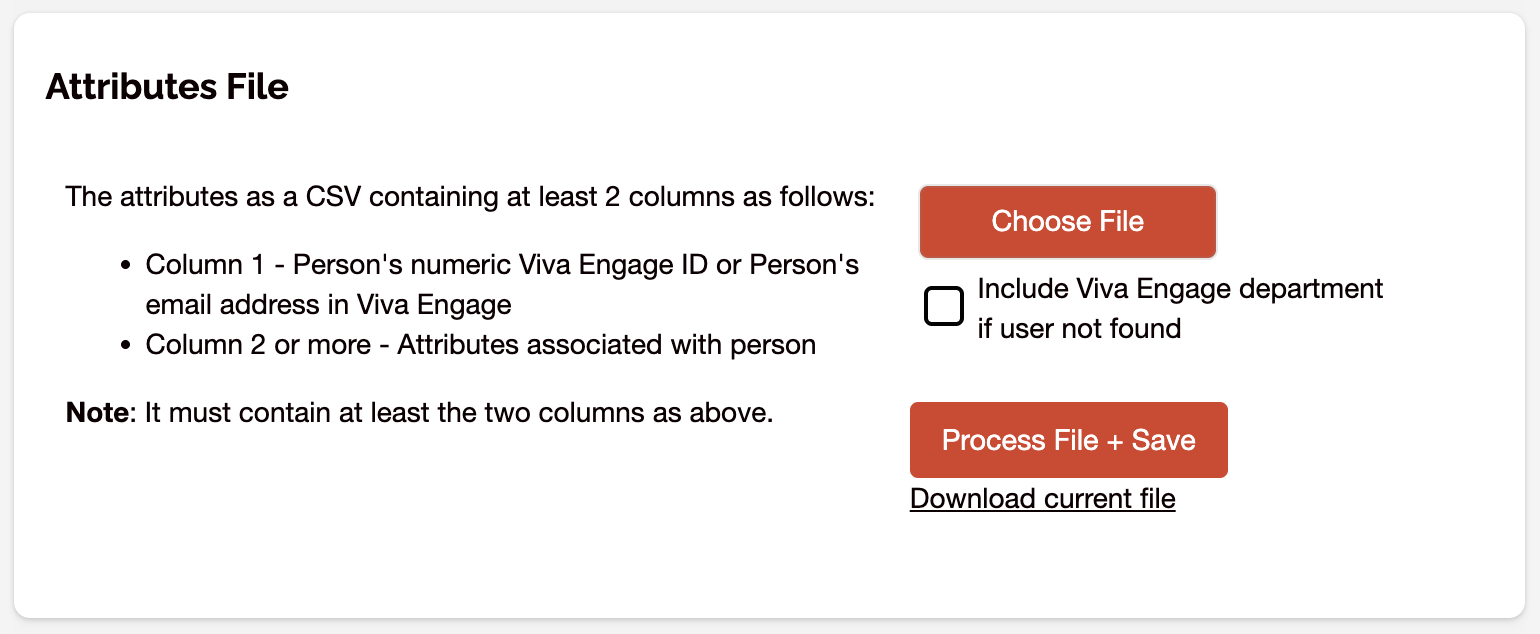
If the *.csv file is above 1mb then the processing can take a few minutes. A pop-up screen will appear when the processing has completed. Please do not navigate away from the page until you see this.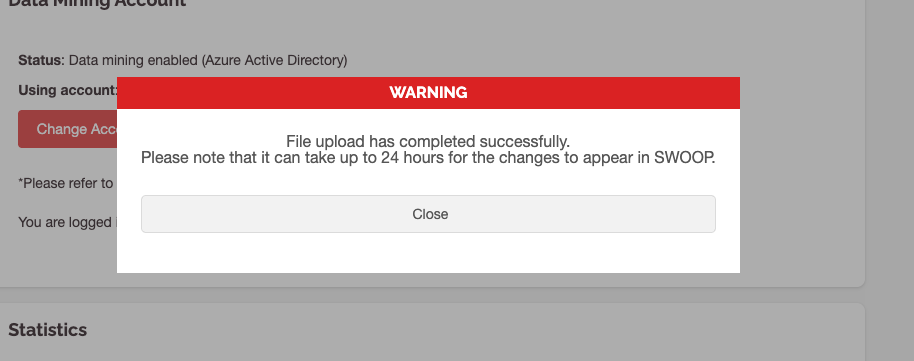
It can take up to 24 hours for the new user profile data to be available in SWOOP, but often only takes a few hours.
Create a custom segment
An fast, but simplified, alternative to the manual upload described above is to create a custom segment.
The scenario here is that you quickly need to get some insights for a particular group of people, for instance a group of people who have attended a training course. You simply upload a CSV file with the email addresses of the people, and call the segment "Participants".
Note that you cannot create sub-groupings using this simplified approach.
Steps to create a custom segment:
- Create a CSV file that has a list of the email addresses you want to create a custom segment for.
- In SWOOP, click Admin / Application and locate the "Custom Segments" section.
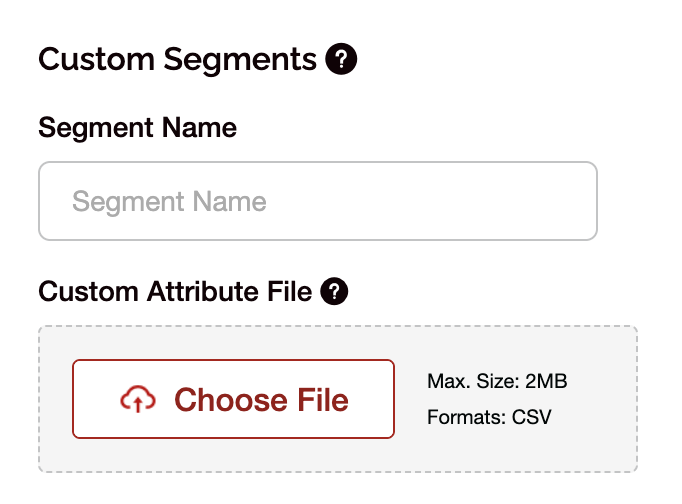
- Give the segment a name, then choose the file. Remember to click 'Apply Changes'.
After you have applied the changes your custom segment will appear in the table like this:
Tick the 'User Access' and/or the 'Admin Access' to select who will be able to use this new custom segment. Click 'Apply Changes' when done.
Now you are able to search for the segment name on Segment or Audience dashboards.
Automated upload via Entra ID (SharePoint only)
Nothing additional do to. The attributes are available and can be selected in SWOOP.
Automated upload via Entra ID (Viva Engage only)
Read more about How to integrate with Azure Entra ID to sync Attribute Data and Community/Group Membership (Viva Engage) here.